
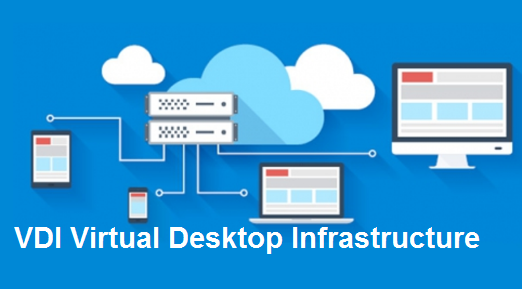
VDI Best Practices
Managing your own company emails, meetings, applications and then additionally those within the VDI (Virtual Desktop Infrastructure) session for the customer you are working with can be a struggle.
Below are some tips and tricks while using a VDI session.
Forwarding
Configure forwarding of meetings and even emails to your main/preferred email address and calendar system. This ensures one central view and makes life simpler. Note that some companies frown on this as it’s a security issue to forward content to an external system.
- Open
Outlook - Navigate to
File -> Manage Rules & Alertsmenu - Select
New Rule ... - Select
Apply rule on messages | receiveand click NEXT - Select
which is a meeting invitation or updateand click NEXT - Select
Yesto confirm - Select
forward it to "people or public group", and then click the hyperlinkpeople or public groupin the box below and add provide target email address in theTOfield and click OK - Click NEXT
- Click NEXT
- Specify the rule name, for example “Forward to Red Hat”
- Click FINISH
Development Environment
If you intend to do some development work within a VDI session, you’ll most likely need to setup SSH, code editor, and ultimately be able to clone a repository from a version control system to begin your work. Most of these instructions can be completed even if you do not have administrator access within your VDI environment. Simply install apps into a shared folder. Some folders will be emptied upon restart of your VDI session so be sure you find the right folder to use.
Installing Git Command Line
Windows users need access to a bash terminal. bash is a command-line interpreter that interprets and runs your commands written in the bash command language. Windows does not have this by default, so we will install Git Bash which is a bash command line with git installed on it. This allows you to use the commands that we run in this class and be able to run git commands to turn in assignments.
Steps:
- Go to Git For Windows and click
Download. - After downloading and running the installation, hit
Yesto allow for changes. - Go through the prompts hitting
nexteach time with the default options. - Start
Git Bashwindow and go to the window top-left corner to get “Options” menu - Change the options for
Lookssection and selectThemefor colors (draculais easy to read) - Change the options for
Terminalsection and disable “Bell” sounds (annoying!) - Apply those changes and Save
Installing and Configuring VSCode
Visual Studio Code (VSCode) is the highly recommended code editor. It is a feature-rich text editor that has a wide array of configurations and community-made extensions.
Steps:
- Download and install VSCode.
- Inside VSCode, open up the terminal by going to the menu option
Terminal > New Terminal - Switch the default terminal profile to
Git Bash. If it’s not listed, restart VSCode and try again - sometimes it doesn’t list until restarted but it should be listed to select as the default terminal shell. - Exit current terminal window and start a new one which should now be using Git Bash.
- Install recommended VSCode extensions
- Ansible
- Jinja
- Remote Development
- TODO Highlight
-
Inside of the VSCode Git Bash terminal, enter these commands and substituting your username and email, with the quotes included:
 # Configure git
 git config --global http.sslVerify false
 git config --global user.name "First Lastname"
 git config --global user.email "email@example.com"

 # General ssh keys using RSA algorithm with default values
 ssh-keygen -t rsa
 # Copy public key to clipboard and add this to BitBucket, GitHub, or GitLab account
 cat ~/.ssh/id_rsa.pub | clip
 # Confirm ssh authentication works
 ssh -T git@<gitserver-url>
 # Create working folder that holds cloned repositories
 cd; mkdir repositories
 cd repositories
 # Clone repository locally
 git clone <repo>
SSH Client (Optional)
For SSH’ing to bastion hosts within terminal windows, I’d advise using a Git Bash window that is now available after installing Git for Windows. However, an alternative multi-window SSH client is MobaXTerm. Consider installing the Portable Edition which has the software inside a single folder and does not require administrator access to the machine.
References
- Git and VSCode Setup - Windows
- TODO: Add Docker for Windows so that the Ansible extension can run ansible-lint inside container
- TODO: Add using Windows WSL v2 and setup virtual environments